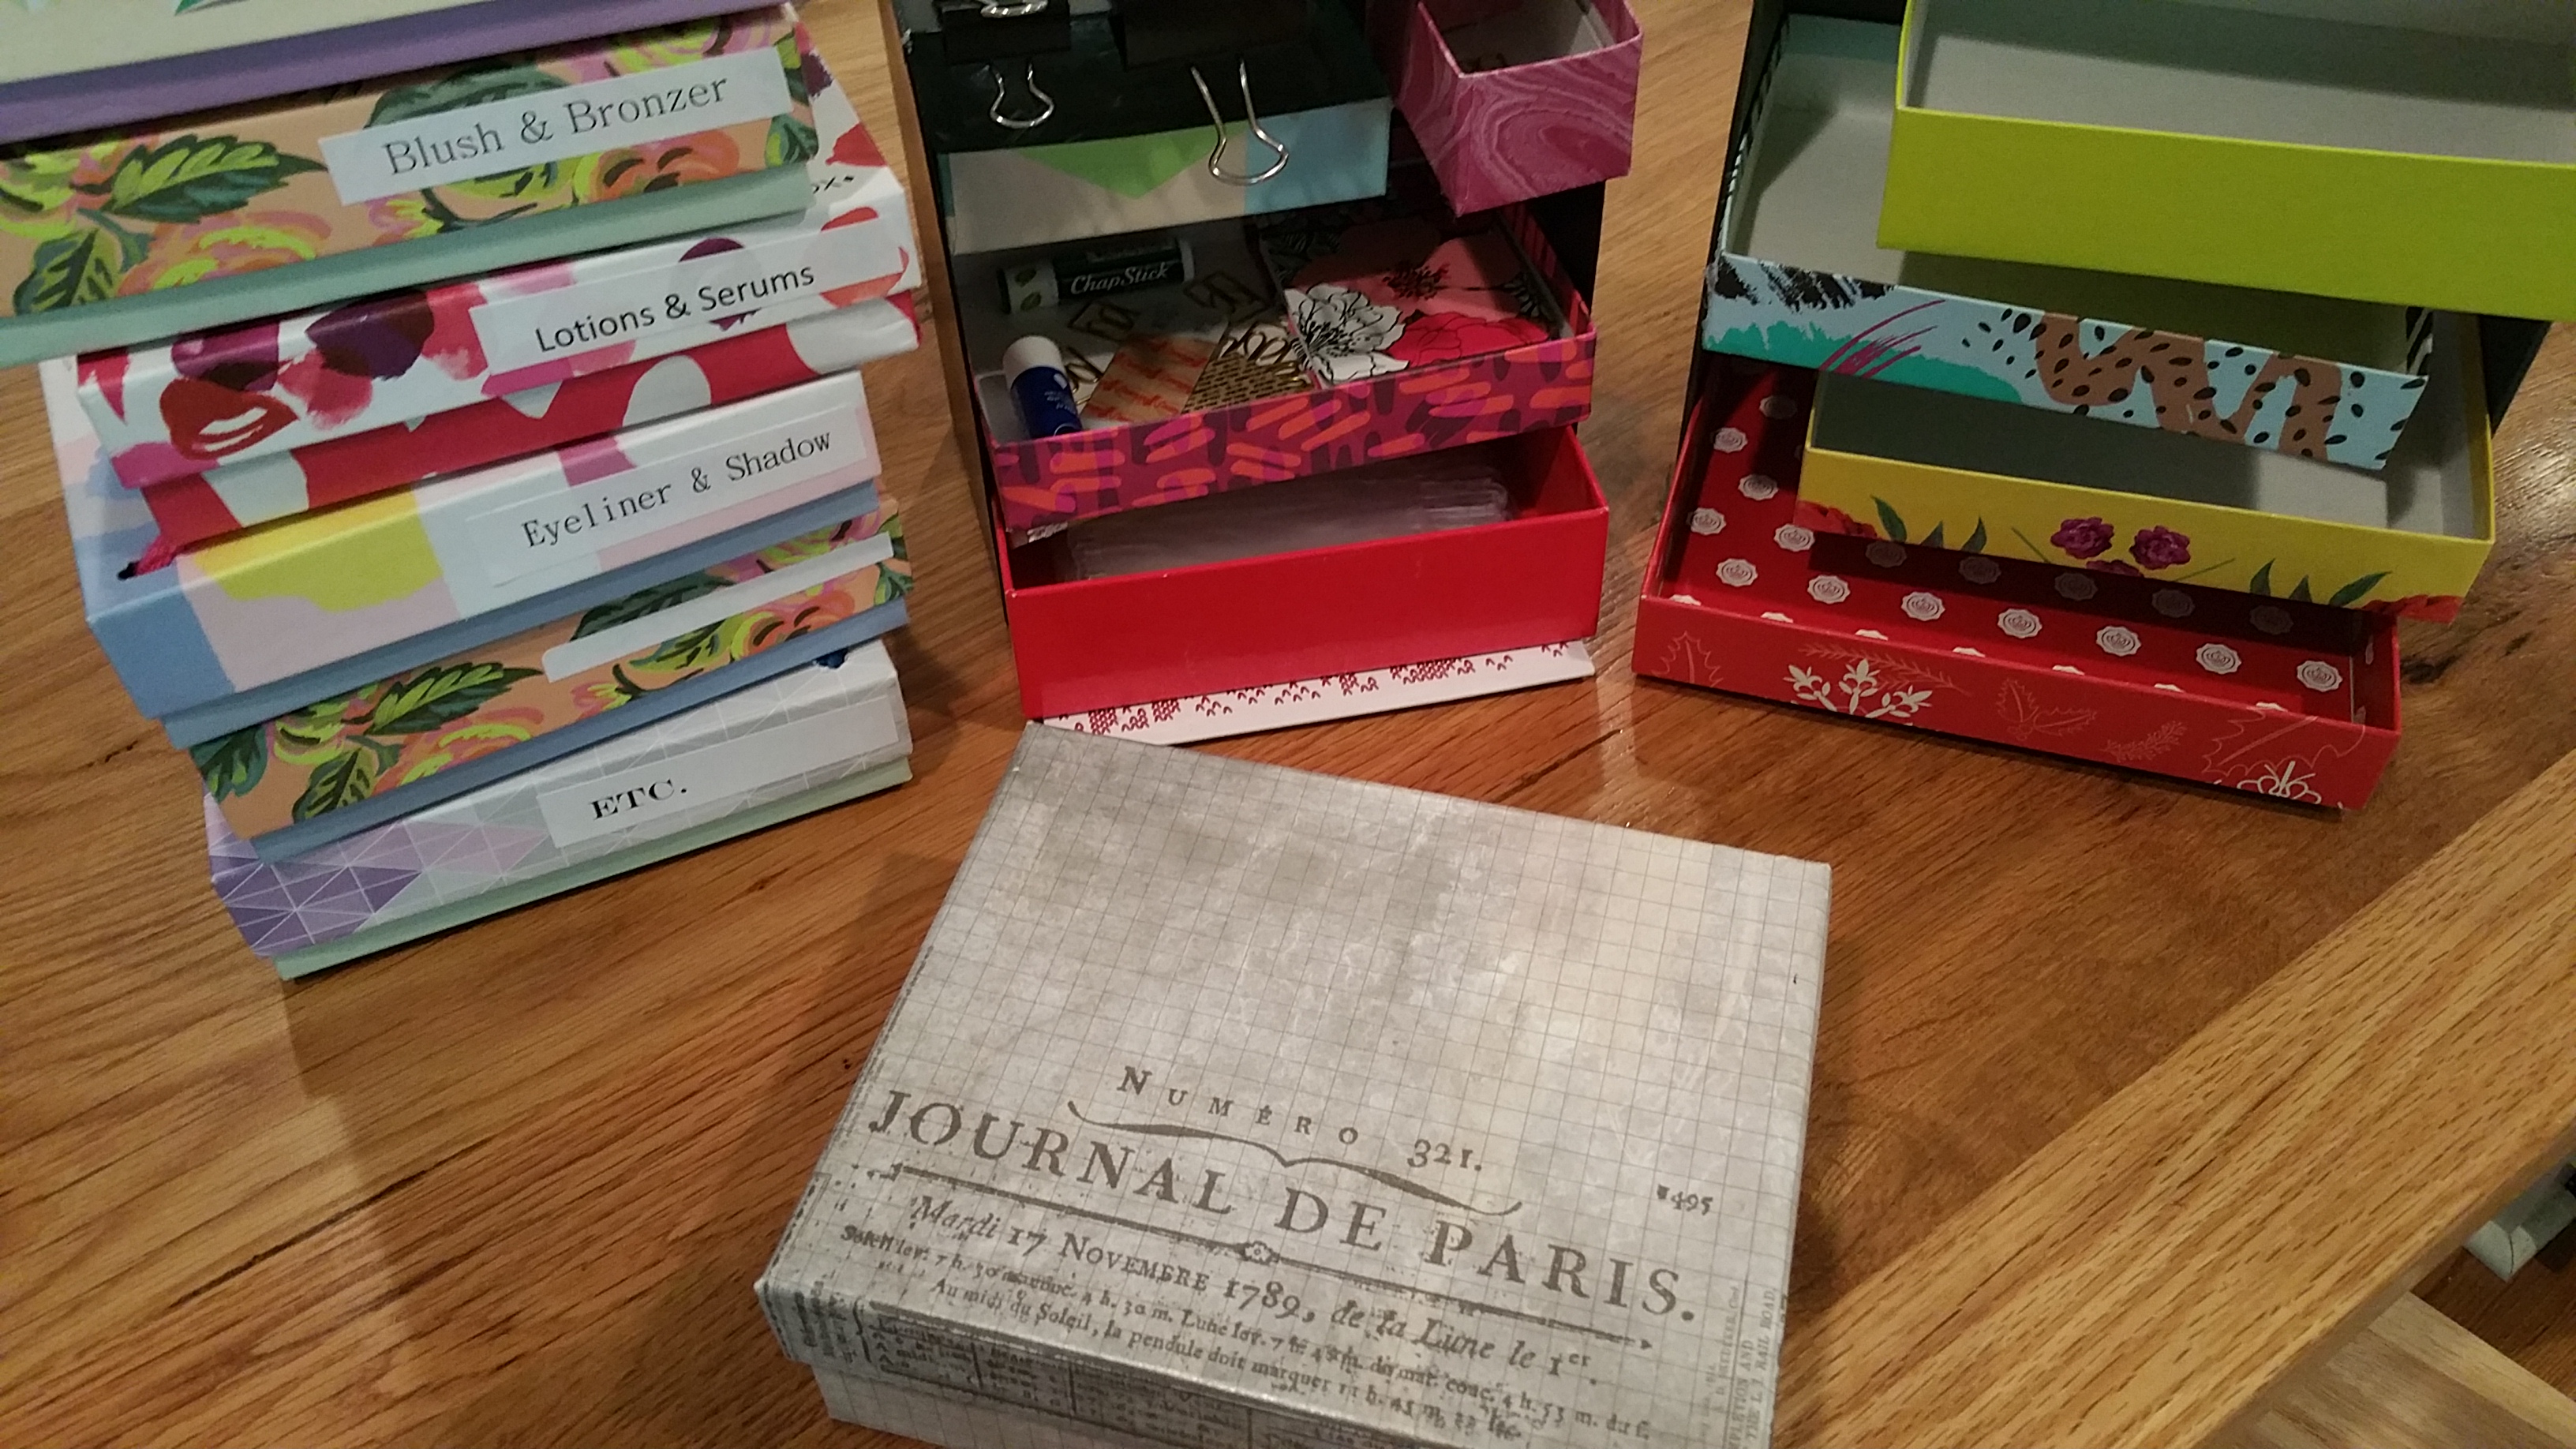
I’ve “instagrammed” my box projects a bunch of times now, but I think it’s time to do an actual post on the topic. If you receive multiple subscription boxes and/or multiple boxes of one kind (especially Birchboxes) then you likely have lots of cute little boxes sitting around waiting to be used for something. These can be used in countless ways. However they really take up a lot of room if you’re just storing them away for later. I think it was my 6 year old son’s request to do crafts last winter that got me to pull out all of my empty boxes. At that point I realized I had to do something with these things and so I started to experiment. I’m going give you some ideas of what you can do at home with your boxes, without a lot of fancy tools or craft expertise.
But first, I have a disclaimer / confession to give. I am soooo not a tidy and organized, peppy and pretty, crafty and perfect homemaker. I’m not the person who makes mason jars of dry soup with pretty little labels, to give as gifts. What I’m saying is that I do crafts MY way, and not for other people. I don’t like to follow instructions and I don’t like to be told I can’t do something. Occasionally my behavior results in things blowing up (literally and figuratively), falling apart, or just looking ugly. So, proceed with caution if you’re following my lead!
Now that the formalities are out of the way, let’s proceed:
Basic, helpful tools (more specialized versions in parentheses): Scissors (Exacto knife, Cutting Mat). Elmers Glue and Paste. (Hot Glue, Mod Podge). Cord or Rope (Jute Rope). Plain Paper (Printing adhesive labels). Old Magazines and Wrapping Paper (Scrapbook paper).
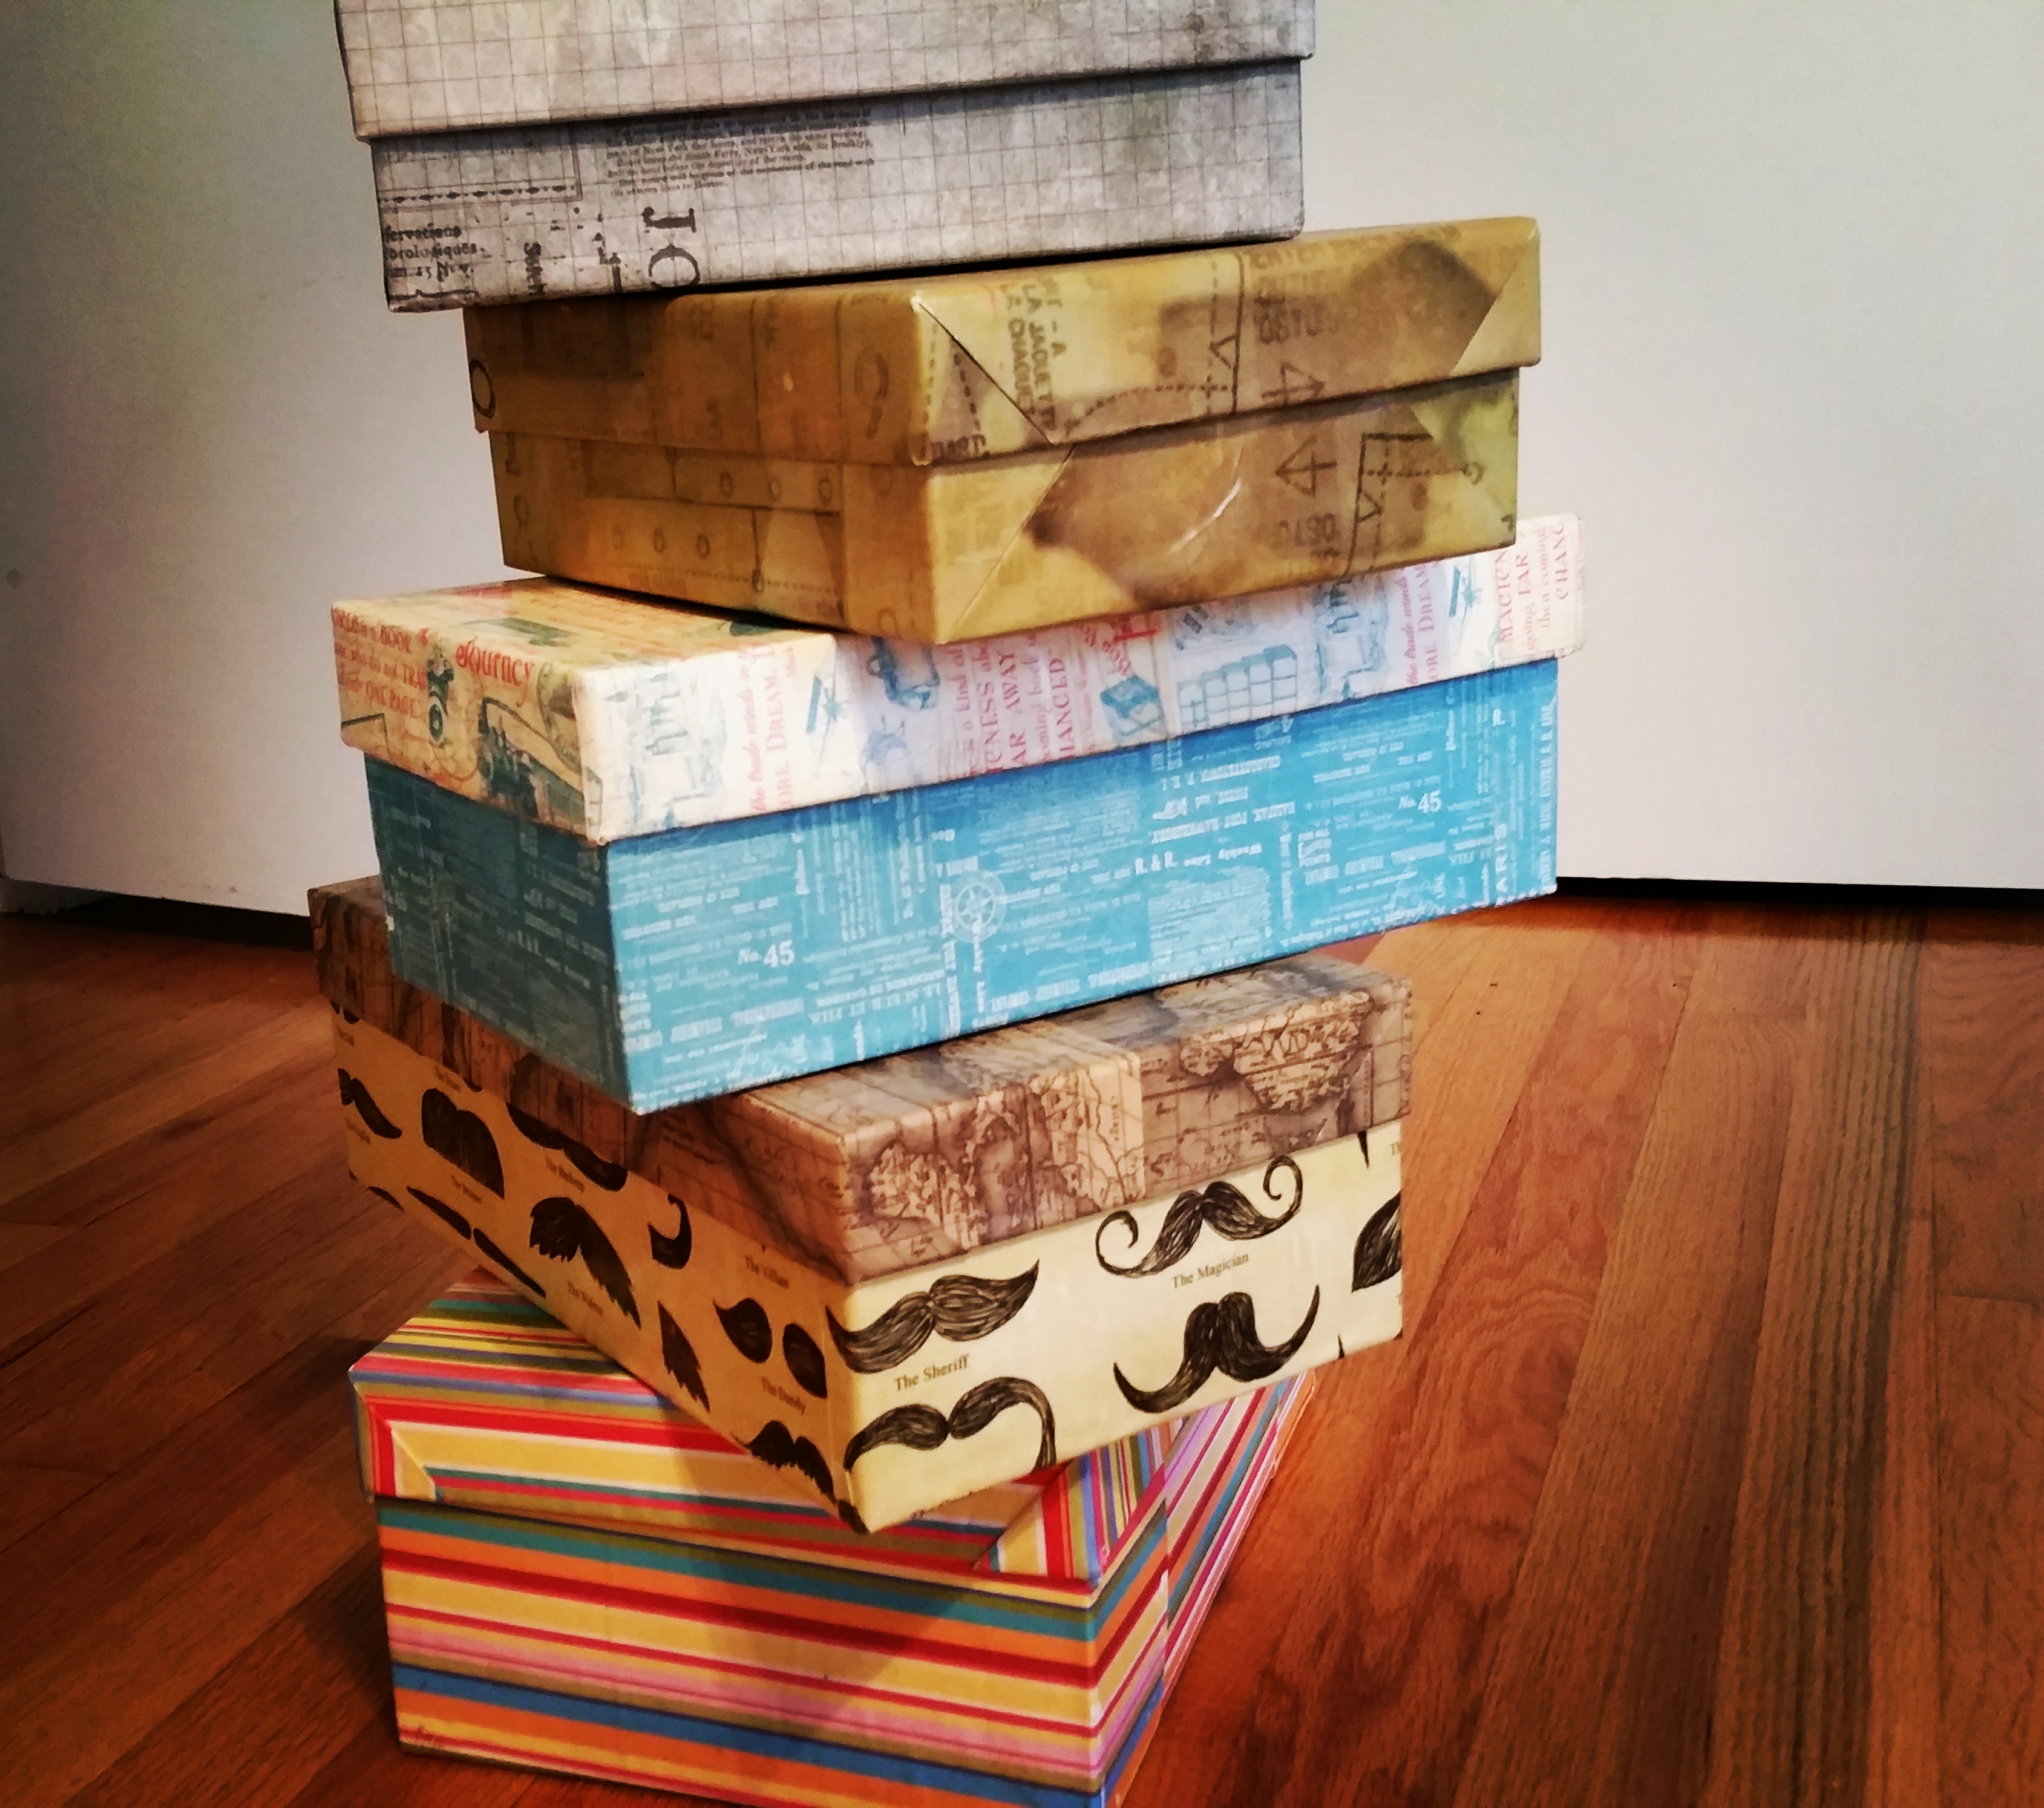
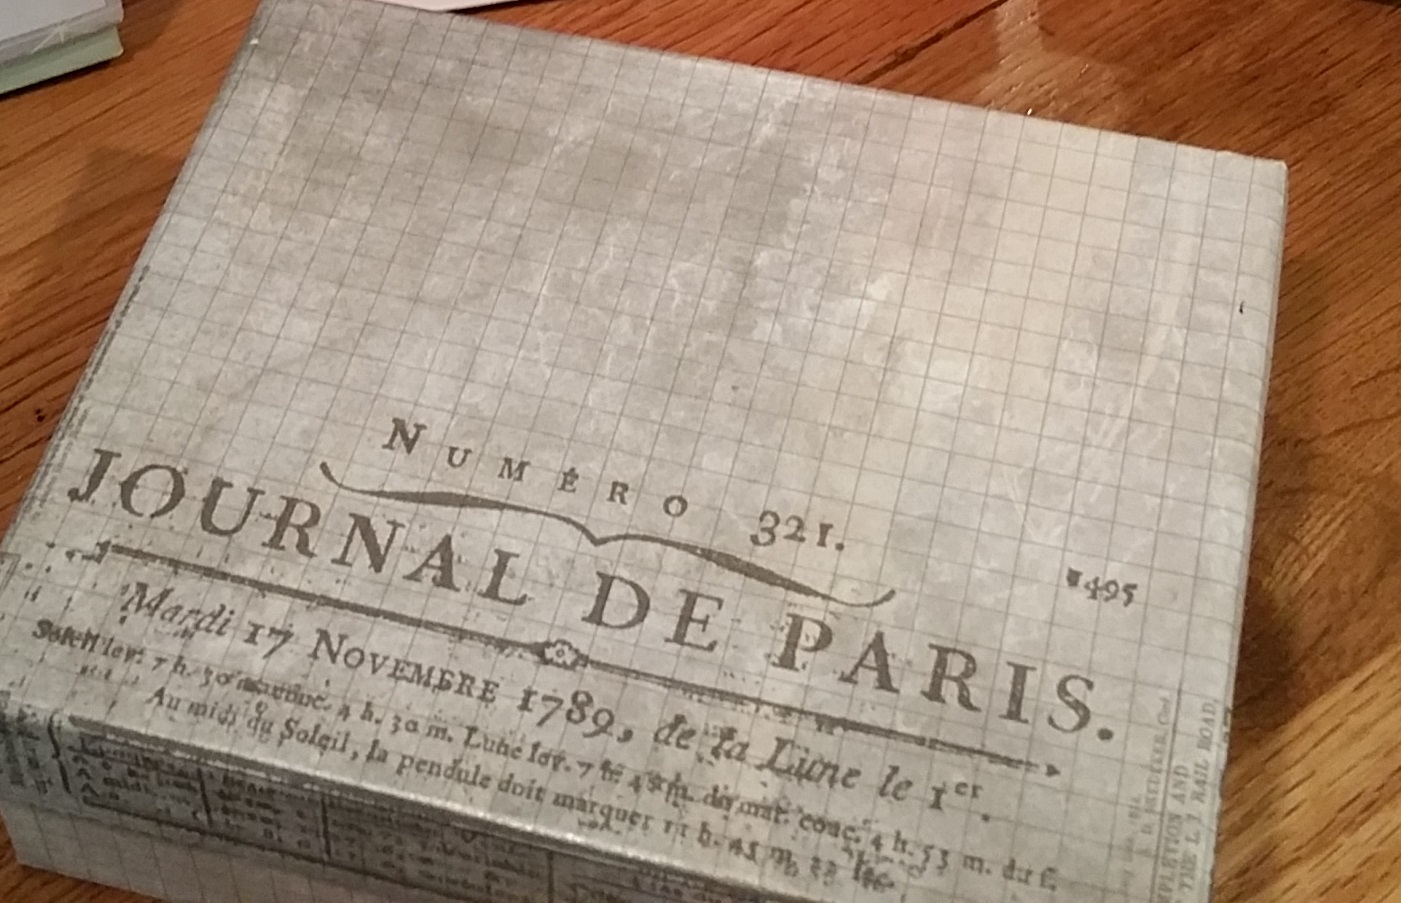
WRAPPED BOXES (A/K/A DECOUPAGE)
I actually started doing this years ago after it dawned on me that retail stores were charging big bucks for nothing more than cardboard boxes covered in decorative paper. And usually their paper is kind of ugly!
But there were aisles of scrapbook paper in any imaginable pattern, available for $.29 a sheet at Michael’s and Hobby Lobby and I had plenty of sturdy, empty boxes to cover. (Fyi – Glossyboxes are particularly awesome for covering.)
This is a simple project, but done well it can produce really beautiful storage (or gift) boxes!
1. Find a box you want to use. Work on top and base separately.
2. Cover a work surface and get your Elmers Glue or Mod Podge ready in a shallow dish. If you have a paint brush, that’s best for applying glue, but I’ve used old sponges and wadded up paper towels in desperate times.
3. Coat with an even amount of glue, the underside of the paper you are using to cover. Once thoroughly coated, press paper to one plane of the box. After smoothing, press it onto the edges, but avoid folding it into the inside of the box until the sides are very well attached. The most important thing is to press and smooth the paper down onto the box, removing air bubbles, and getting glue under every spot of the paper.
4. If you’re using small bits of paper, like images cut from magazines, you have more control and it may be easier to start with. However be careful: once you coat thin paper (like from magazines) with glue it becomes weak and can easily tear.
5. Once the entire bottom and top parts are covered, let dry. I like to go back and do a top coat to seal the paper. For this, ModPodge is best. Use caution if you have Elmers Glue because it does not dry as clear as ModPodge. You can spray on a clear acrylic seal coat in the alternative.
NOTE: If you really want your box to look professional, FIRST spray your paper with an acrylic sealant and let dry before gluing onto your box. This helps to keep wet spots from forming on the paper, which look like dark blotches once dry.
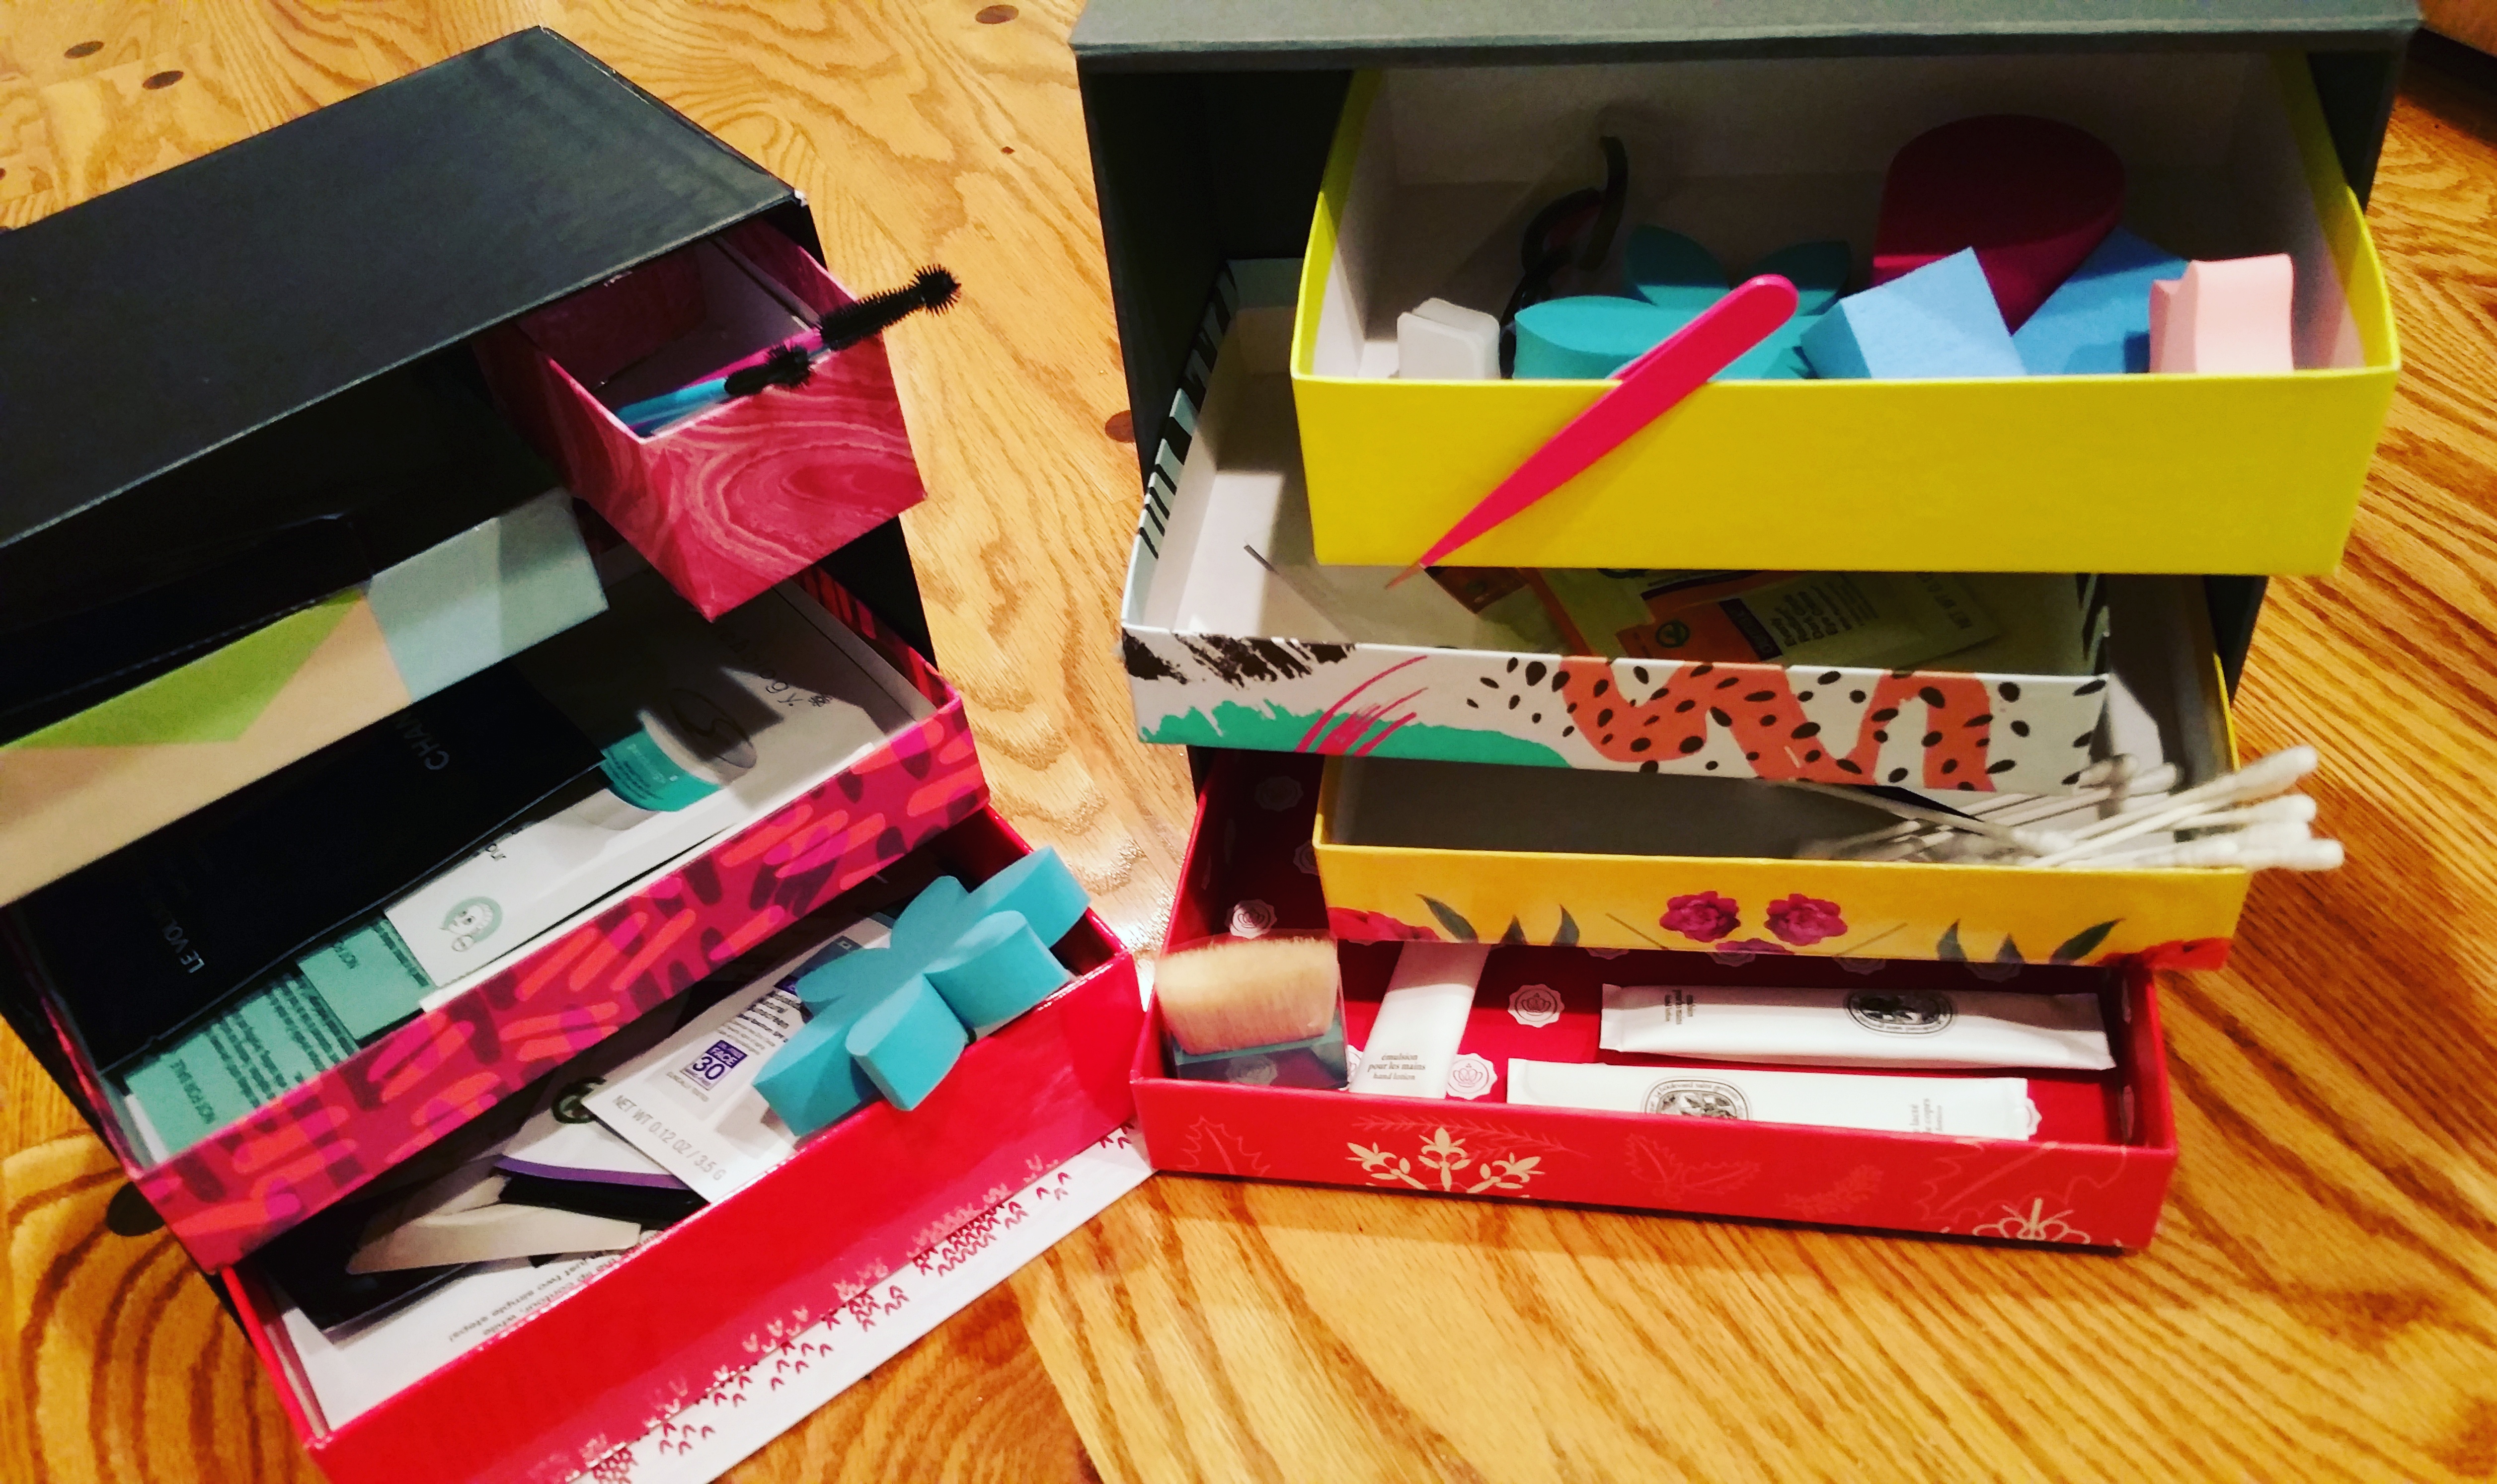
MINI STANDING BOX SHELF
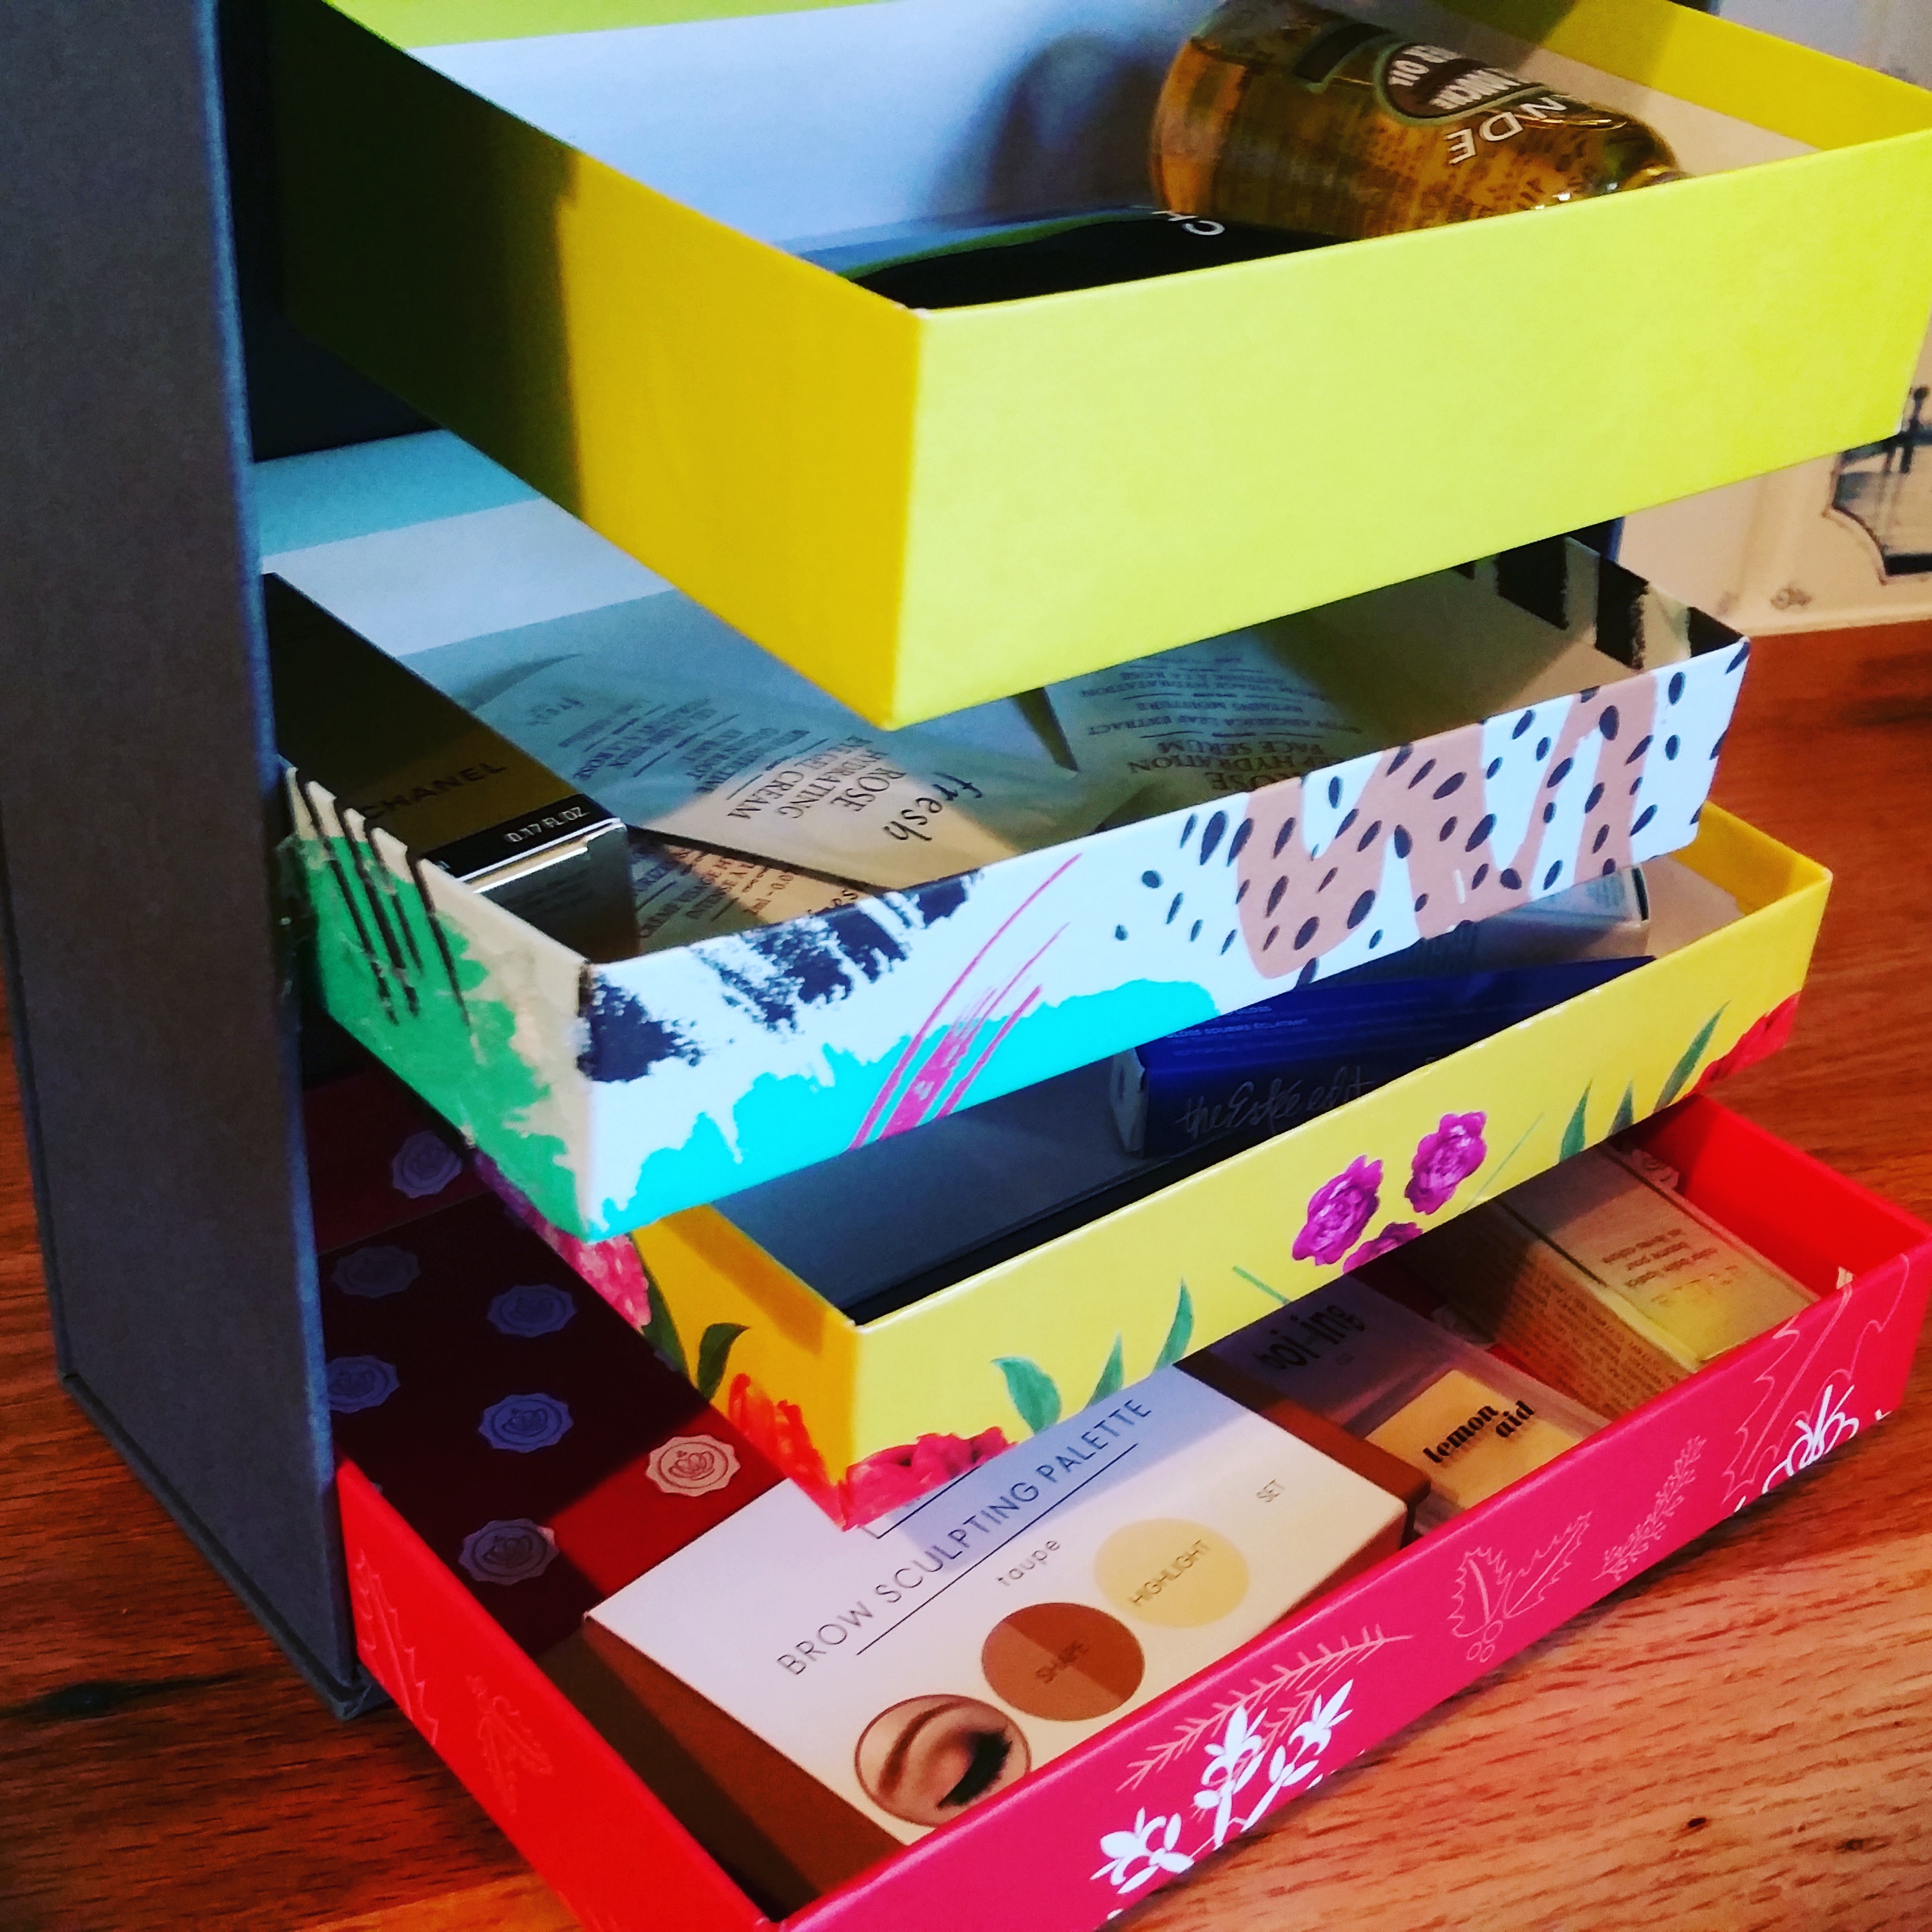
For this you should find one box that’s bigger than the boxes you’re using as shelves. You only need the bottom of that bigger box to act as the frame. I had some large Target Beauty Boxes from months ago that worked perfectly. I used the lids or bases of Birchboxes for the inside shelves.
The concept is simple: you just want to attach one edge of the Birchbox to the inside of the larger box. Leave enough space in between “shelves” so you can reach in to put things.
I recommend using a hot glue to attach the shelves because it bonds instantly and provides a strong hold. Of course you can try other adhesives.
For a more “advanced” project, try making smaller shelves by cutting down your Birchboxes and folding the edges in.
HANGING BOX TREE
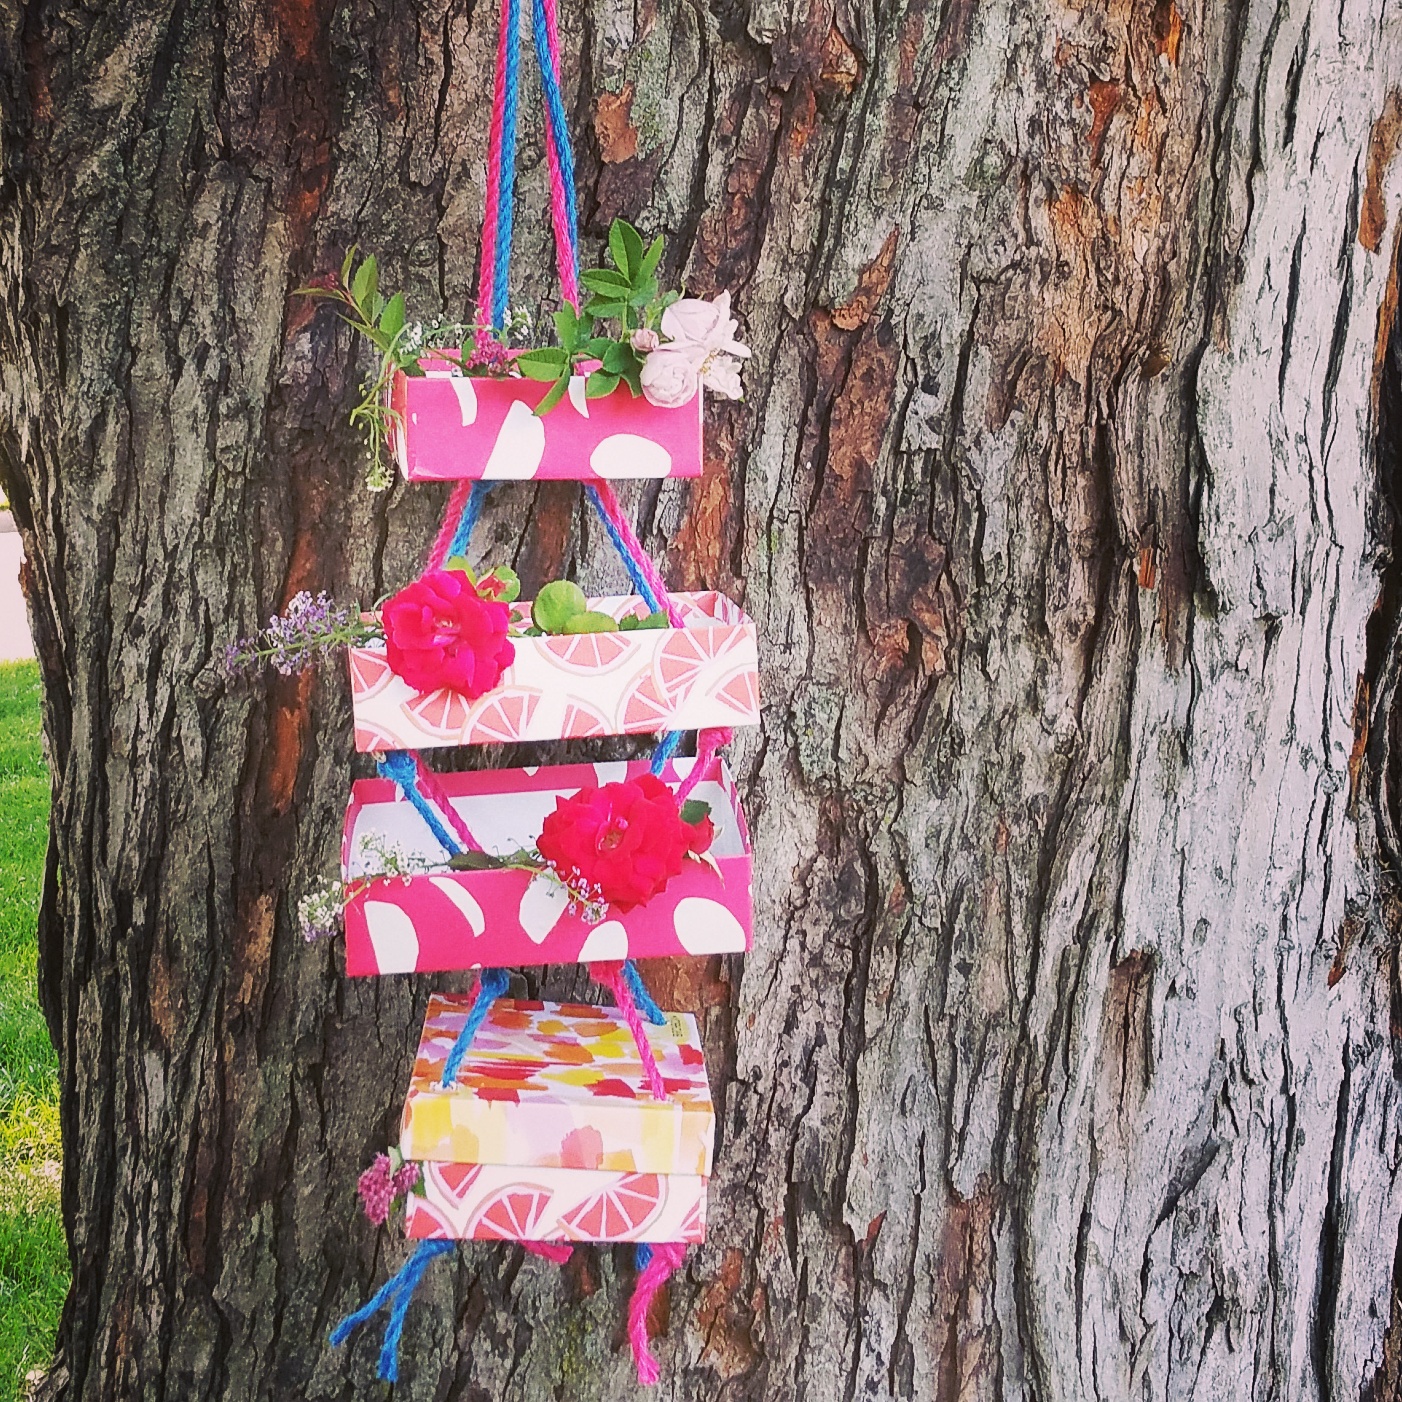
This is my most recent type of project using empty boxes. For me, the challenge when trying to upcycle boxes is to find a way to use the boxes as individual storage units with the lids, to take advantage of the organizing potential and the fact that boxes keep small things from falling out. At first I made a hanging box tree with just one half of a box, and came away with essentially hanging shelves. They’re cool, but if tipped over everything falls out. So I thought about how I could keep the boxes intact and hanging, together. There are a couple of ways to do this. But either way, you have to prep the boxes first:
1. Step one is to compile your boxes and punch holes in the tops and bottoms, where the string will be run through to hang them. This is the most difficult part for me. If I had a freestyle hole punch, that can be taken apart and used in the middle of the page, this would be a cinch. I have seen such a gadget, but it’s too expensive for me to buy just to have on hand for random projects. So instead, I finally settled on using a very sharp Exacto knife to cut square holes. In a nutshell, you just stab the Exacto knife through the cardboard in a square shape, until a small hole pops out. Repeat four times on the top and bottom of the box.
2. If you want to do a suspension style box tree, you will need to alternate with holes at the corners and holes in the middle, back and forth between the boxes. For example, the first box will need holes close to the corners, and the next box will need holes closer to the middle. That way, when string is run through the boxes, the change in direction from box to box will keep them suspended apart. Note that this style of hanging is not the best to use if you want to take things in and out of the boxes while they’re hanging.
3. The alternative is to do boxes with holes all on the outer corners, but separated by big knots in the vertical hanging tree, so that one box is prevented from sliding/ falling down to the next, and the lids can easily be lifted up and down on the string. Below you can see how I used knots to hold up each “shelf.”
4. When all holes are punched, measure out enough rope for one length, and then double it. You will need two sets of ropes in this length. I used two different colors for mine. You will thread one color of rope up through one corner of holes and back down through the adjacent corner. You can start threading from the top to have a loop of rope for hanging, or you can start threading from the bottom in order to have a really sturdy rope base to hold up your tree!
If this is confusing, it will help to look at the pictures below.
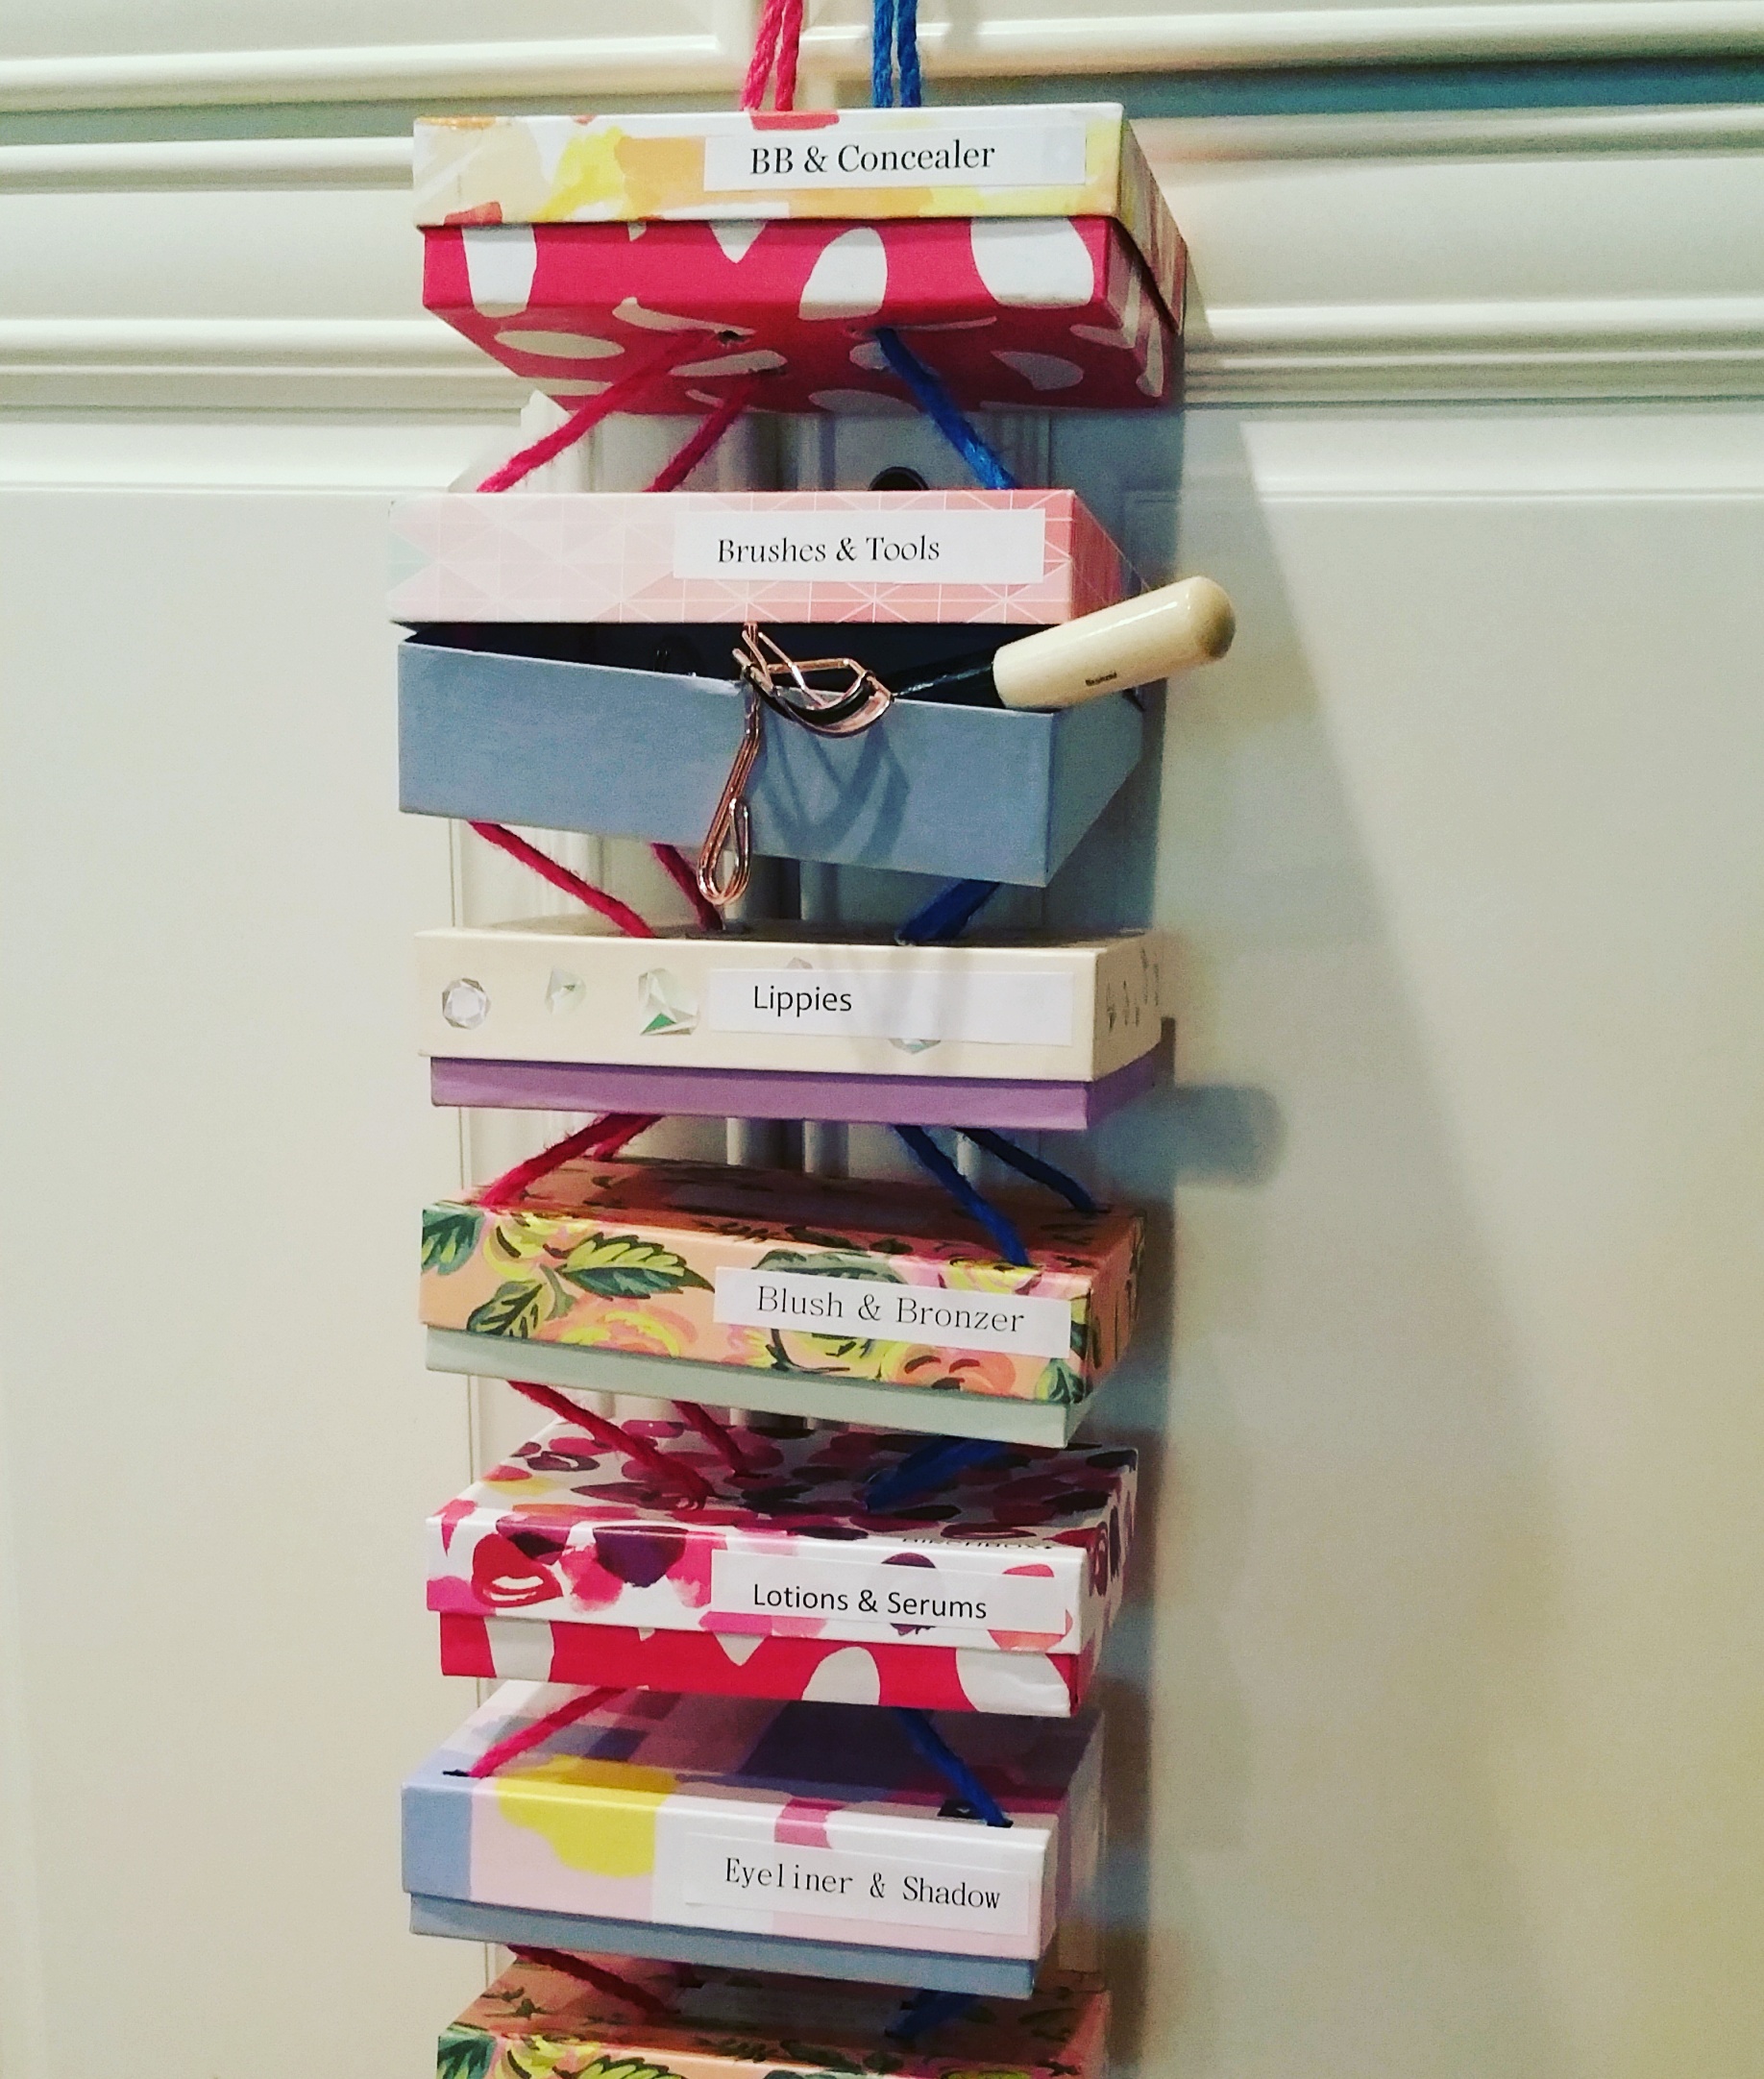
I kind of love my hanging box tree. I actually don’t even have it hanging up right now, but it’s just as useful sitting on a counter top. What I love is how it keeps all the boxes together.
But I think I’m “over” this current obsession with upcycling boxes, for now. I have some different creative adventures to live out while the inspiration is in me. I know from experience I will come back to box crafts sometime in the future– that’s just how I roll.
Now, time to re-finish the mini balcony off of the master bedroom, and then do some 2 part epoxy resin work on the dining room table!
Til later,
-JGG

